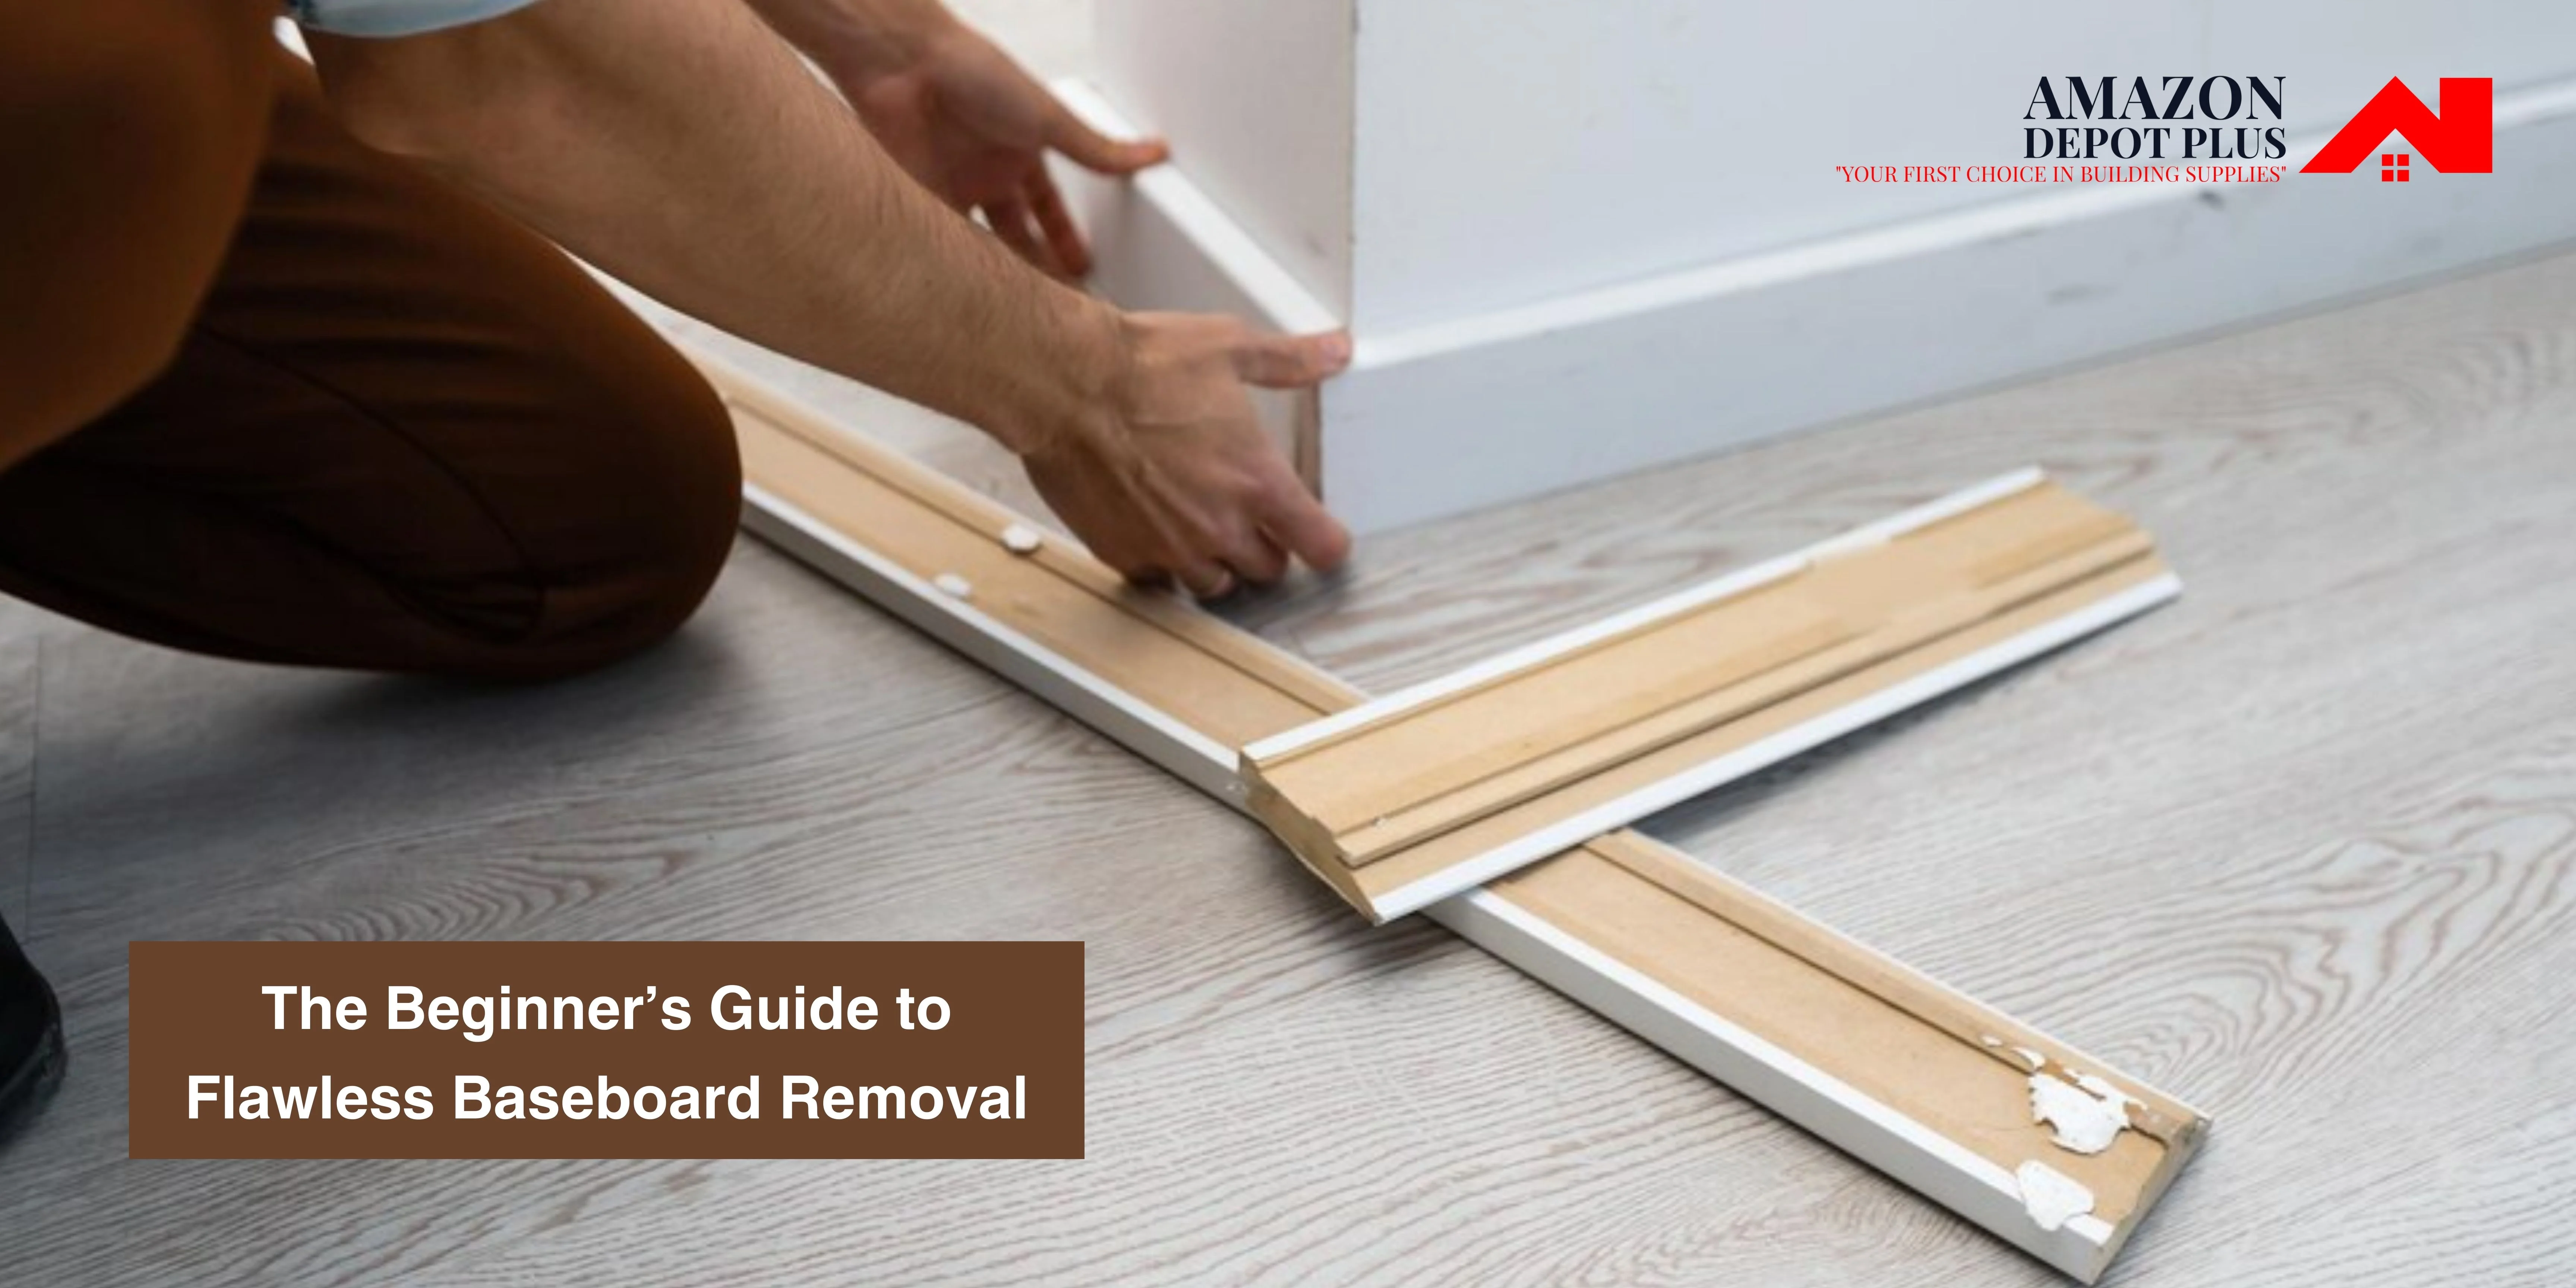
So, you have opted to take out your baseboards. Could it be a new floor, maybe a makeover for the room? For whatever reason, it looks very simple to lift baseboards without damaging them. Not so hard now since we have a couple of pieces of advice and some equipment, you will manage perfectly. Baseboards, which are long wooden or plastic strips placed below the walls help disguise the space between the floor and wall.
This involves patience, the right technique of removing, and common mistakes that one should avoid. Use these beginners step by step and you will have your baseboard off in a minute or two with walls and floor unharmed. So go grab your pry bar, put some good ole work gloves on, and let's get started. It has never been any easier to remove baseboards.
Prepare for Baseboard Removal
The key to flawless baseboard removal is preparation.
First, gather your supplies. You'll need a pry bar, hammer, utility knife, cordless drill/driver, and possibly a chisel. Have a trash bag, drop cloth, safety goggles, and work gloves on hand as well.
Next, inspect the area. Look for any nails or screws securing the baseboard to the wall. You may need to use a stud finder to locate the nails so you can remove them. Use a cordless drill to remove any screws.
Carefully pry the baseboard away from the wall with the pry bar. Work slowly to avoid damage. Use a utility knife to cut caulk or paint between the baseboard and the wall. Insert the pry bar behind the baseboard and gently pry off about 6 to 12 inches at a time.
For stuck sections, use a chisel to loosen the baseboard from the wall. Place a drop cloth along the bottom of the wall to catch falling debris.
Remove any remaining nails by grabbing them with pliers or a claw hammer and pulling them straight out. Patch any holes with wood filler and sand smooth before installing new baseboards.
With the proper tools and techniques, you'll have your baseboards off in no time. Take it slow, be careful, and you'll avoid damage to your walls for a flawless result.
Use Proper Tools to Remove Baseboards Safely
To remove baseboards without damage, you'll need the proper tools and technique.
First, gather the essentials:
--Pry bar or putty knife to pry baseboards away from the wall
--Hammer to tap the pry bar
--Utility knife to cut caulk and paint between baseboard and wall
--Claw hammer to pull out any nails
--Paint stir sticks or shims to prop up baseboards as you work
Now you're ready to get started. Carefully slide the utility knife along the edge of the baseboard to cut any caulk or paint adhering it to the wall. This will allow you to pry it away cleanly.
Next, slide the pry bar behind the baseboard and gently tap it further behind with your hammer. Work slowly down the length of the board to avoid splintering the wood.
As you pry, you may encounter nails or brads holding the baseboard in place. Use the claw hammer to pull these out. Place paint sticks between the baseboard and wall as you work to prevent the board from re-adhering as you go.
Take your time and be careful not to gouge the wall behind the baseboard. With patience and the proper technique, you'll have your baseboards removed in no time without damage. Then you're free to install a new baseboard or proceed with your flooring or painting project.
Reinstall Baseboards Without Damage
To reinstall baseboards without causing damage, take it slow and be meticulous.
Remove baseboards carefully
When prying baseboards away from the wall, work gradually to avoid breaking the board or tearing the wall. Use a pry bar, putty knife, or trim puller and gently wedge it behind the top edge of the board. Slowly pry outwards while applying pressure, moving down the board inch by inch.
For corners or areas where the board is stuck tightly, you may need to score the paint bond between the board and wall using a utility knife before prying. Apply a heat gun to stubborn spots which can soften the paint and loosen the board.
Clean up the wall
Once the board is off, inspect the wall for any remaining nails, paint globs, or debris. Pull out any exposed nails and fill the holes with wood filler or spackle. Wipe away any dirt or marks with a clean, damp rag. Lightly sand any rough areas or imperfections for a smooth surface.
Re-secure boards
When reinstalling the boards, use a stud finder to mark the stud locations. Place boards over the studs for maximum holding power, securing them into place with finishing nails. Drive nails at an angle through the tongue edge of adjacent boards to pin them together.
Add caulk
Apply caulk along the top edge of the baseboard for a finished look and to prevent drafts. Use a caulk that matches your wall color or baseboard finish. Run a thin bead of caulk over the seam between the wall and board. Wipe away excess caulk with a damp finger or rag before it dries.
With some patience and the proper techniques, you can remove and reinstall baseboards without damage for a professional result. Take it one board at a time and focus on being meticulous—your flawless baseboards will make all the effort worth it.
Conclusion
So there you have it, a beginner’s guide to tackling baseboard removal without disaster. Now that you’re armed with the right tools and techniques, you’ll be whipping those boards off in no time. Remember, take it slow, be gentle around the edges, and avoid hitting the walls. Once you get the hang of it, you’ll be a baseboard removal pro in no time. The best part is you’ll end up with boards intact and ready to reuse or a clean slate to install some fresh new trim. Not bad for a novice, right? Tackle that first room with confidence, you’ve got this! Before you know it, you’ll be on to the next project in no time. Happy removing and best of luck with your renovation!


