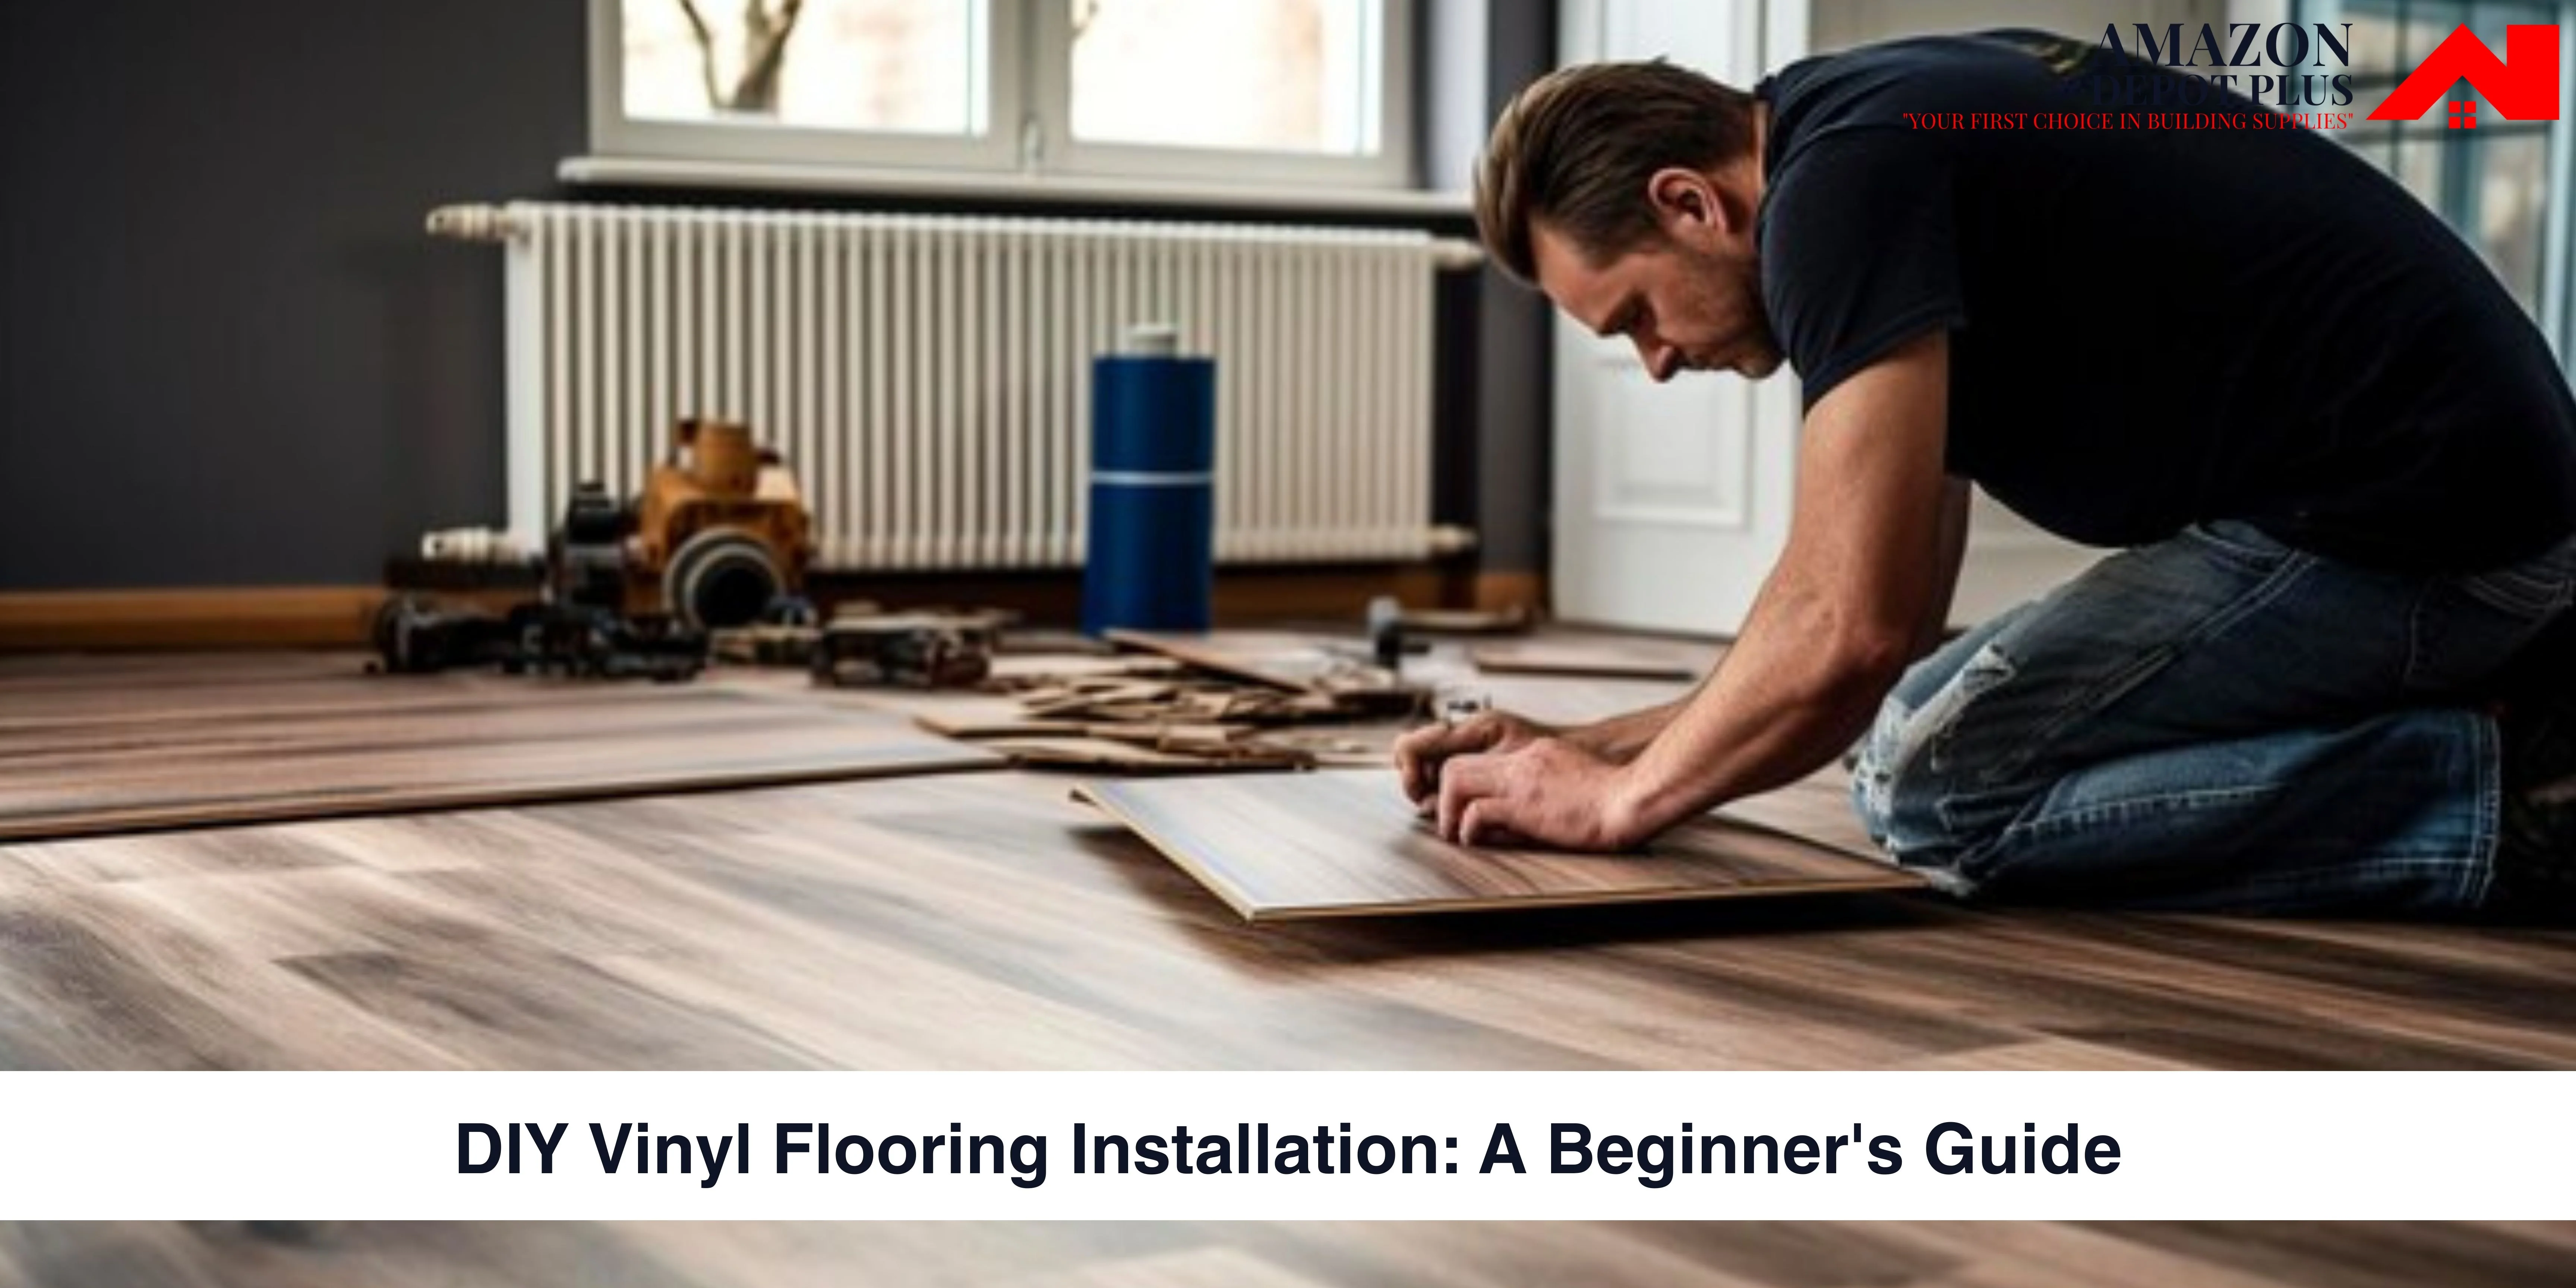
Maybe you have just had enough now, and really, it is about time that those shabby carpets were pulled up and replaced by shiny new vinyl flooring. The thought of having to take on a flooring project probably sounds daunting, but vinyl flooring is even more friendly for beginners to be installed as a DIY flooring project with the right preparation and the right tools. This guide will take you from the products and tools you will need to purchase through measuring and cutting with several different techniques to a finished and seamless product, installed with perfection. With a little patience and following the tips in this guide, you will save yourself thousands of dollars in installation fees and still have a beautiful, professional-looking lawn. Let's get started.
Preparing for Vinyl Flooring Installation
• Gathering supplies
Before you start tearing up the old floor, first of all, make sure that you have everything you will need. That includes vinyl flooring, vinyl flooring adhesive, a putty knife, a rubber mallet, a tape measure, a utility knife, and whatever else it indicates in the instructions for your specific flooring.
• Cleaning the subfloor
Make sure the subfloor is clean, level, and dry. Sweep off all dirt and debris with a broom. Fill cracks with floor patch compound and sand high spots. The floor has to be totally level for the vinyl floor to lay flawlessly.
• Planning the layout
Measure the room correctly. Purchase the flooring, allowing 10% more for the space to be covered and wasted. Set planks out in the starting point and direction to be sure you find an ideal place before sticking anything down permanently. You want the flooring to run parallel to the longest wall for the most natural appearance.
• Acclimating the flooring
Ideally, you will want to allow the flooring to acclimate to the room conditions for a minimum of 48 hours before installation. Keep the flooring in its packaging and place it in the middle of the room. All these help the floor to get used to the temperature and humidity, therefore it would not expand or contract due to any change after being installed.
Now that everything is ready, it's time to start laying the new vinyl flooring down. Just take your time, be very careful to follow all of the directions accurately, and you are sure to get a great result from your DIY project.
Step-by-Step Guide to Installing Vinyl Flooring
• Gather Your Supplies
Before starting, have your vinyl flooring, adhesive, and trowel. Also, prepare a putty knife; you will need a tape measure, a utility knife, and the usual safety gear—goggles and gloves.
• Prepare the Subfloor
Prepare the subfloor by cleaning it and leveling it. Fill all the raised spots with the floor patch compound, then sand over. Finish with a careful vacuuming to remove the sanding dust.
• Plan Your Layout
Measure the room to determine which way you want to run the planks. For the best appearance, have the planks run parallel with the longest wall. Snap a line with a chalk line.
• Apply the Adhesive
Spread the adhesive over a section of the subfloor with the trowel. Work from the size of the trowel and apply according to what the container of adhesive says. Work in small sections so that the adhesive doesn't dry before laying down the planks.
• Lay the First Plank
Place the first plank with its tongue edge against the wall. Apply weight or a board to hold it in place as it dries.
• Connect and Repeat
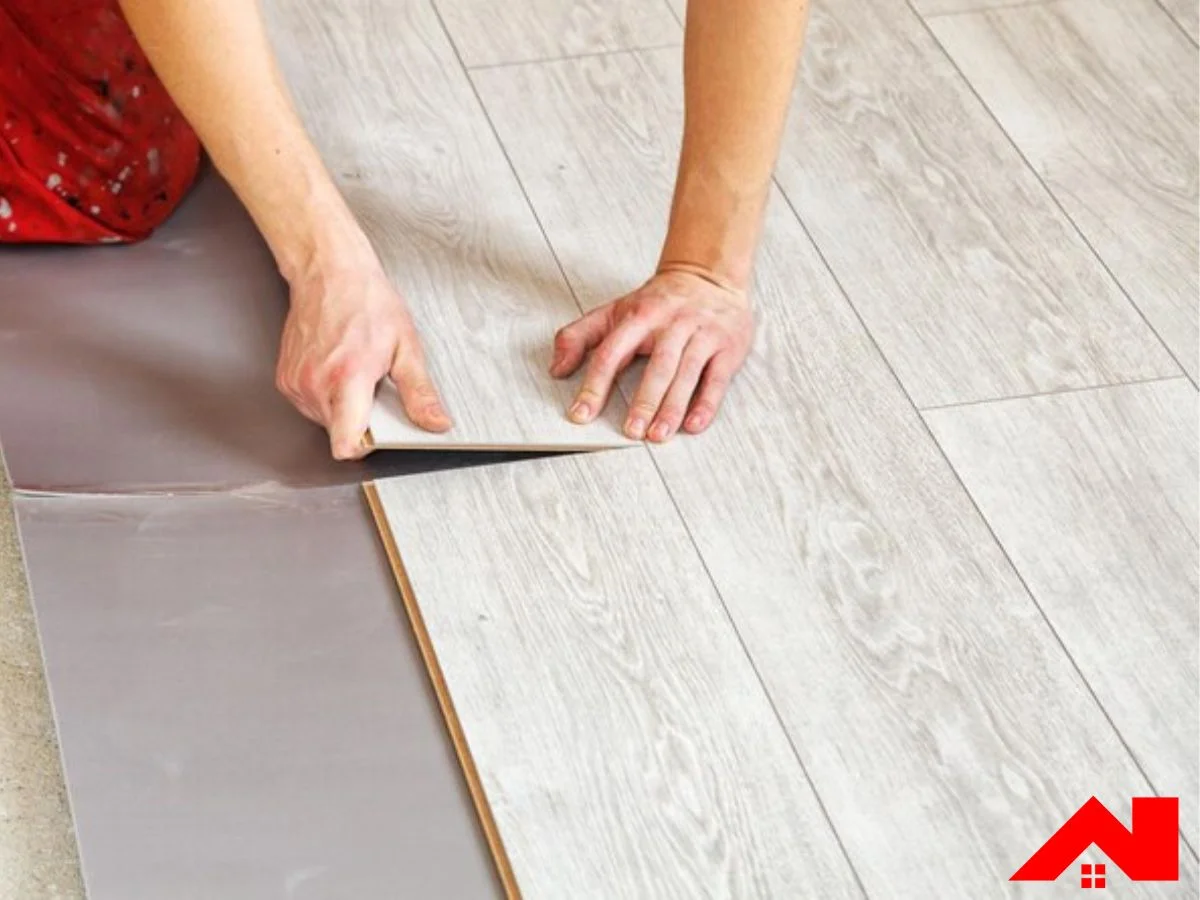
Connect the groove edge of the next plank to the tongue of the first plank, firmly pressing them together. Continue in the same manner with the rest of the planks, cutting with a utility knife if there is need for a last plank to fit.
The floor should be kept off for the first 24 hours so that the adhesive may cure after installation. With proper care and maintenance, the new vinyl floor should give service for many years. Now, stand back and admire your work!
Buy from Amazondepotplus Store, Canada
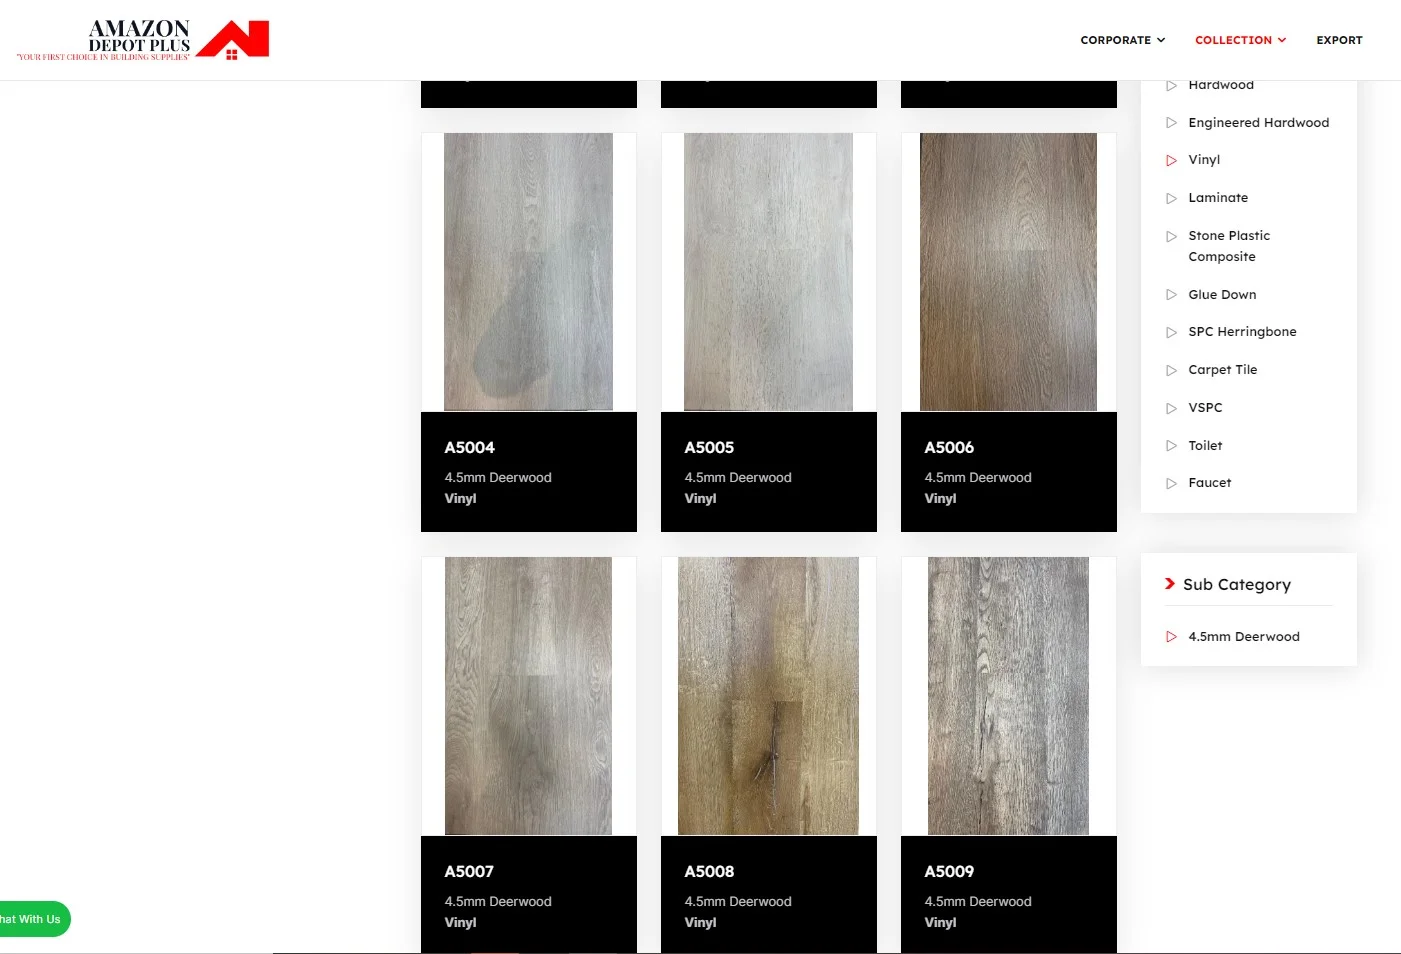
If you live in Canada, the best place to purchase vinyl flooring is Amazondepotplus, an online store dedicated to home renovation and improvement supplies. They offer free shipping on all vinyl flooring orders over $99 and have weekly deals and sales on major brands.
When shopping on Amazondepotplus, take your time to explore the options. They have vinyl planks, luxury vinyl tiles, sheet vinyl whatever style you’re looking for. Be sure to order a few extra boxes in case you have leftovers or need replacements down the road.
Amazondepotplus is a trusted retailer and makes the vinyl flooring buying process simple and affordable. Their customer service team is also available to help answer any questions you may have about products, installation, or shipping. For DIYers on a budget, Amazondepotplus should be your first stop for vinyl flooring in Canada.
Conclusion
So there you have it, vinyl flooring installation broken down into simple steps. Once you get the hang of prepping your subfloor and learning how to cut the planks, you'll be laying vinyl like a pro. Just take your time, watch a few tutorials, and don't be afraid to make some mistakes - it's all part of the learning process. Installing vinyl flooring yourself will save you a ton of money over hiring a professional. Plus you'll get the satisfaction of transforming a room with your own two hands. It does take some work, but the result will be well worth it. Your beautiful new floor will spruce up the whole space. So grab your tools, queue up your favorite playlist, and let's get to installing your stylish new vinyl floor!
Vinyl Flooring Installation FAQs
1. Do I need any special tools?
To install vinyl flooring yourself, you'll need just a few basic tools: a utility knife, straightedge, measuring tape, chalk line, roller, and adhesive. For glue-down vinyl planks or tiles, you'll also need a trowel to spread the glue. That's all there is to it - vinyl flooring is meant to be an easy DIY project.
2. How long does installation take?
Installing vinyl flooring is typically a quick process. Glue-down vinyl planks or tiles will take longer, around 3 to 5 hours for a medium-sized room. Peel-and-stick vinyl tiles can be installed in just 30 minutes to an hour. Snap-together floating vinyl planks are also fast to install, around 2 to 3 hours for most rooms. The exact time will depend on the size and layout of your room.
3. Do I need underlayment?
Underlayment is optional with vinyl flooring and depends on the type you choose. Glue-down vinyl and peel-and-stick tiles do not require underlayment. Snap-together floating vinyl planks may benefit from an underlayment, especially in basements. The underlayment provides moisture protection, and insulation, and helps reduce noise. If installed over concrete, an underlayment can also smooth out small imperfections. For floating vinyl, choose an underlayment specifically designed for vinyl flooring.
4. Can I install it over the existing flooring?
In some cases, yes. Vinyl flooring can be installed over existing clean, smooth flooring like linoleum, wood, and ceramic tile. However, for the best results, it is best to remove carpet, laminate, and cushioned vinyl before installing new vinyl flooring. Always check the specifications of your vinyl flooring to ensure compatibility with the existing flooring type. The subfloor should also be checked for moisture and imperfections. Some patching or leveling may be required.
5. Where can you put vinyl flooring?
Vinyl flooring is extremely versatile and can be installed in virtually any room in your home.
• Kitchens and bathrooms
Vinyl is perfect for high-moisture areas like kitchens and bathrooms because it’s water-resistant and won’t warp or buckle when exposed to excess moisture. Vinyl planks or tiles in wood or stone looks are popular in kitchens and baths.
• Basements
Vinyl flooring is also ideal for basements since it’s not susceptible to water damage. Vinyl planks with a concrete or stone appearance help create the look of a real flooring material in a basement. Vinyl flooring also helps insulate basement floors and reduces noise transfer between floors.
• Laundry rooms
Laundry rooms experience a lot of spills and splashes, so vinyl flooring holds up well to potential water damage in this space. Stone or slate vinyl planks or tiles complement laundry room decor and stand up to heavy appliance use.
• Entryways and mudrooms
Vinyl flooring makes an excellent choice for high-traffic entryways and mudrooms. It’s durable, low-maintenance, and water-resistant. Vinyl planks or tiles in wood, stone or slate styles create an attractive look in entryways. The water resistance also helps during rainy or snowy weather when people track in moisture.
So you have a lot of options for where to use your new vinyl flooring. Any room in your home that experiences moisture, heavy foot traffic or temperature fluctuations is ideal for vinyl flooring. With the wide range of styles available, you can achieve any look you want, even in utility areas of your home.

